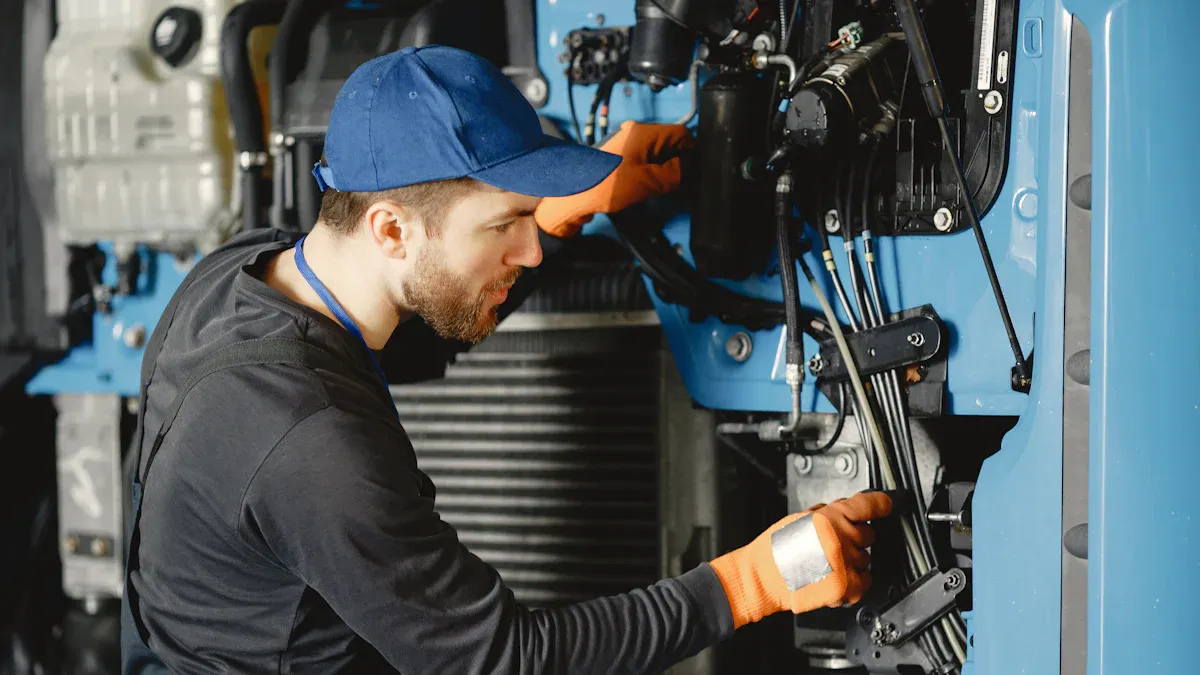
Operators achieve the fastest and safest results when they Replace The Screen Die Head by following strict shutdown procedures. They always allow the extruder to cool and release internal pressure. Using the correct tools and adhering to safety protocols ensures a smooth, efficient process.
Safety and preparation remain essential for every replacement.
Key Takeaways
- Always follow safety steps like cooling the extruder, wearing protective gear, and unplugging electrical parts before replacing the screen die head.
- Prepare by gathering all tools, inspecting equipment, and cleaning components carefully to avoid damage and ensure smooth removal and installation.
- Use proper alignment, even tightening, and thorough testing after installation to maintain product quality and prevent downtime.
Tools, Safety, and Preparation for Replace The Screen Die Head

Required Tools and Materials
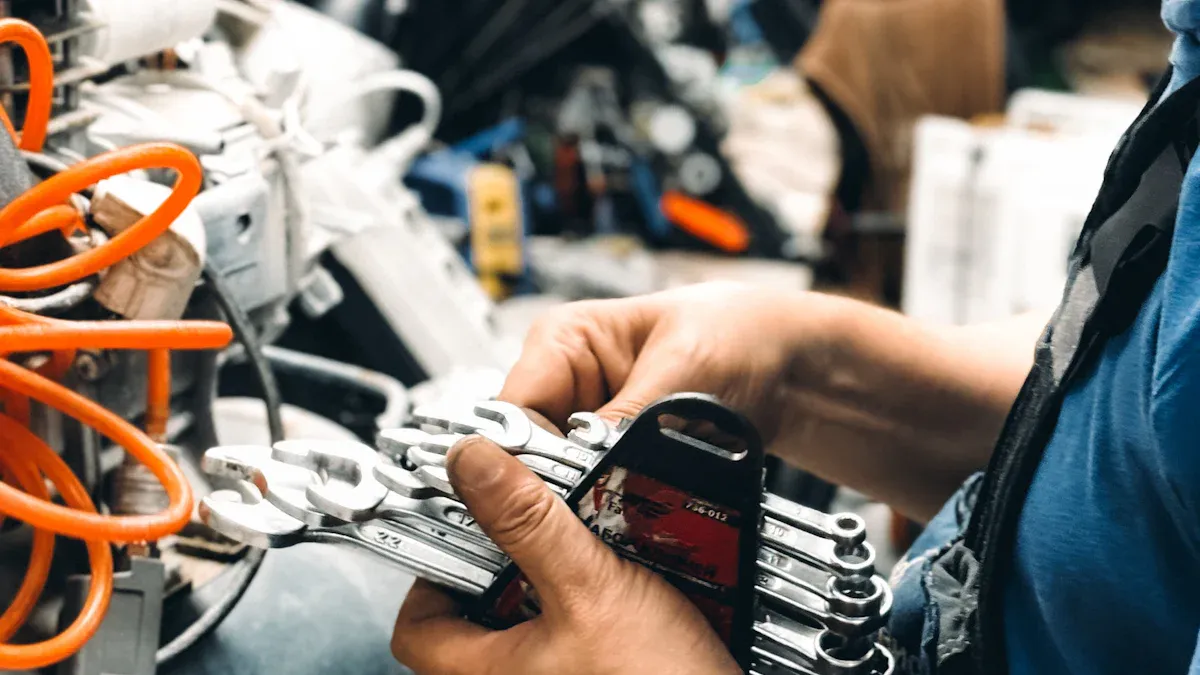
Operators gather all necessary tools before starting the replacement process. They prepare jack bolts, Allen wrenches, end seal and body gaskets, and cleaning supplies such as copper gauze, die soap, brass scrapers, and abrasive pads. Heat-resistant gloves, high-temperature anti-seize, a torque wrench, and protective covers ensure both safety and efficiency. A strong working surface and an adequate lifting device support the die head during removal and installation.
| Tool/Material | Purpose |
|---|---|
| Jack bolts | Splitting die bodies |
| Allen wrenches | Removing and tightening bolts |
| Heat-resistant gloves | Protecting hands from hot surfaces |
| Cleaning supplies | Removing polymer and debris |
| Lifting device | Safely handling heavy die heads |
Essential Safety Precautions
Operators always prioritize safety when they Replace The Screen Die Head. They inspect lifting equipment, checking eye bolts for damage before use. Protective covers shield sensitive die lip areas from accidental impact. Operators avoid power tools to prevent damage to critical surfaces. They wear gloves and safety glasses to protect themselves from heat and debris.
Tip: Operators should unplug all electrical components before starting any disassembly.
Preparation Steps
Operators follow a proven sequence to prepare for screen die head replacement:
- Gather all required tools and materials.
- Inspect lifting equipment and eye bolts for integrity.
- Loosen die body bolts while the die remains online, leaving four bolts in place.
- Disconnect all electrical connections.
- Apply protective covers to die lips.
- Move the die offline and remove end and seal plates.
- Secure the lifting device and apply anti-seize to jack bolts.
- Insert protective shim stock between die lips.
- Evenly tighten jack bolts to separate die bodies.
10. Clean the die promptly and inspect for damage.
This preparation ensures a safe, efficient, and damage-free process.
Step-by-Step Guide to Replace The Screen Die Head

Removing the Old Screen Die Head
Operators follow a systematic approach to remove the old screen die head efficiently. They begin by retracting the screen pack and breaker plate, which grants access to the screen die head. Next, they push out any molten material from the screen area, clearing away old resin. Removing contaminated screens becomes essential, especially when residual color or material remains. Operators then clean the screen bore thoroughly, often using a wire brush to eliminate any lingering contamination.
A typical removal process includes:
- Retract the screen pack and breaker plate.
- Push out molten material to clear the screen area.
- Remove contaminated screens containing old color or material.
- Clean the screen bore with a wire brush.
- Insert the breaker or carrier plate and fresh screens in the correct order.
- Return the screen pack to its operating position.
- Purge with natural resin until the product runs clear.
Operators also clean related components, such as hoppers and blenders, to prevent cross-contamination. Lab trials and industry experience confirm that these steps deliver reliable results and minimize downtime.
Tip: Using natural resin for purging simplifies the process and reduces labor requirements.
Inspecting and Cleaning Components
Inspection and cleaning play a critical role during the replacement process. Operators start by purging the extruder with a suitable resin, such as 2-MI LDPE, for about 30 minutes. Draining the feed hopper and running the extruder dry until pressure drops ensures that no residual material remains. After disconnecting the extruder from downstream equipment, operators remove the screen pack and breaker plate.
They set the extruder heater temperatures to 300°F, then add flexible PVC and run the screw at a high rate for 30 minutes. This step helps remove any remaining polyethylene, making screw removal and cleaning easier. Running the screw dry again after PVC purging ensures that the system is free of contaminants.
Operators may use mechanical cleaning methods, such as the “disco purge,” which involves varying the extruder rpm to dislodge stuck material. Purge resins with higher viscosity or polymer process aids can also help release stubborn residues. For challenging polymers, specialized treatments—like introducing steam or using MAH-grafted materials—may be necessary.
Note: Always monitor temperatures closely to avoid hazardous emissions during cleaning.
Installing the New Screen Die Head
Once the components are clean and inspected, operators proceed to install the new screen die head. They align the new die head carefully with the extruder, ensuring that all surfaces are free from debris. Operators apply high-temperature anti-seize to bolts and contact surfaces to facilitate future maintenance. Using a lifting device, they position the die head securely, taking care not to damage sensitive die lips.
Operators insert new gaskets and seals, then tighten bolts in a cross-pattern to achieve even pressure. Protective covers remain in place until installation is complete, safeguarding critical surfaces from accidental impact.
Callout: Proper alignment and even tightening prevent leaks and ensure optimal performance.
Securing, Testing, and Restarting
After installing the new screen die head, operators secure all bolts to the manufacturer’s recommended torque. They reconnect electrical components and remove protective covers. The extruder is brought back online gradually, with operators monitoring for leaks or abnormal noises.
A controlled purge with natural resin follows, ensuring that the new screen die head operates without contamination. Operators check product quality and system pressure, making adjustments as needed. Once the system stabilizes, normal production resumes.
Operators who Replace The Screen Die Head using these steps achieve consistent results and minimize unplanned downtime. Regular testing and careful observation during restart help maintain product quality and equipment longevity.
Reminder: Always document the replacement process and note any issues for future reference.
Troubleshooting and Efficiency Tips
Common Issues and Solutions
Operators often encounter several challenges during the screen die head replacement process. Addressing these issues quickly helps maintain production quality and minimize downtime.
- Cleaning remains essential. Operators must remove all polymer residue to prevent blockages and ensure smooth material flow.
- Regular inspection for wear and tear on die lips, mandrels, and fasteners helps identify problems before they escalate.
- Checking the heating system ensures that the die head reaches and maintains the correct temperature, preventing material degradation.
- Operators use sensors to monitor temperature, pressure, and extrusion force. These sensors provide real-time feedback, allowing early detection of abnormalities.
- Data analysis from monitoring systems supports timely maintenance and reduces unexpected failures.
- Proper training and adherence to safety protocols reduce the risk of accidents and equipment damage.
Tip: Consistent troubleshooting and preventive maintenance improve efficiency and reduce production costs.
Expert Tips for a Smooth Replacement
Experts recommend several best practices to achieve a seamless and efficient screen die head replacement.
- Inspect and clean the die head regularly to prevent residue buildup and maintain product quality.
- Use only recommended cleaners and tools to avoid damaging sensitive surfaces.
- Replace worn components, such as mandrels and die lips, immediately upon detection.
- Calibrate temperature control systems to ensure uniform processing conditions.
- Lubricate moving parts as specified by the manufacturer to minimize friction and wear.
- Document all maintenance activities to track recurring issues and plan preventive actions.
Hydraulic automatic screen changers further streamline the process. These devices use fast-acting hydraulic cylinders to move screen packs without stopping the extrusion line. Operators benefit from semi-continuous operation, low pressure loss, and the ability to Replace The Screen Die Head efficiently, even during ongoing production.
Note: Proper documentation and regular monitoring help operators identify trends and optimize maintenance schedules.
Operators achieve safe, efficient results when they Replace The Screen Die Head by following each step carefully. Regular maintenance and strict adherence to best practices help prevent issues. Operators should always consult the machine manual for specific instructions and safety guidelines.
Consistent attention to detail ensures long-term equipment reliability.
FAQ
How often should operators replace the screen die head?
Operators should inspect the screen die head regularly. Replacement frequency depends on production volume, material type, and observed wear.
Regular checks help maintain optimal performance.
What safety gear must operators wear during replacement?
Operators must wear heat-resistant gloves and safety glasses.
| Safety Gear | Purpose |
|---|---|
| Gloves | Protect hands from heat |
| Safety Glasses | Shield eyes from debris |
Can operators use power tools for screen die head removal?
Operators should avoid power tools. Manual tools prevent accidental damage to sensitive surfaces and ensure precise control during removal.
Manual methods offer better safety and accuracy.
Post time: Jun-27-2025


